Braids hairstyles have existed since time in memorial. Women are still adopting these hairstyles up to date. However, some braids hairstyles are becoming too common. This is the reason you are encouraged to try out inserts on your braids. This is one way you can attain uniqueness and stand out from anyone around you. Check out these three types of braids with Inserts.
1. How to Braid Beads into your Hair
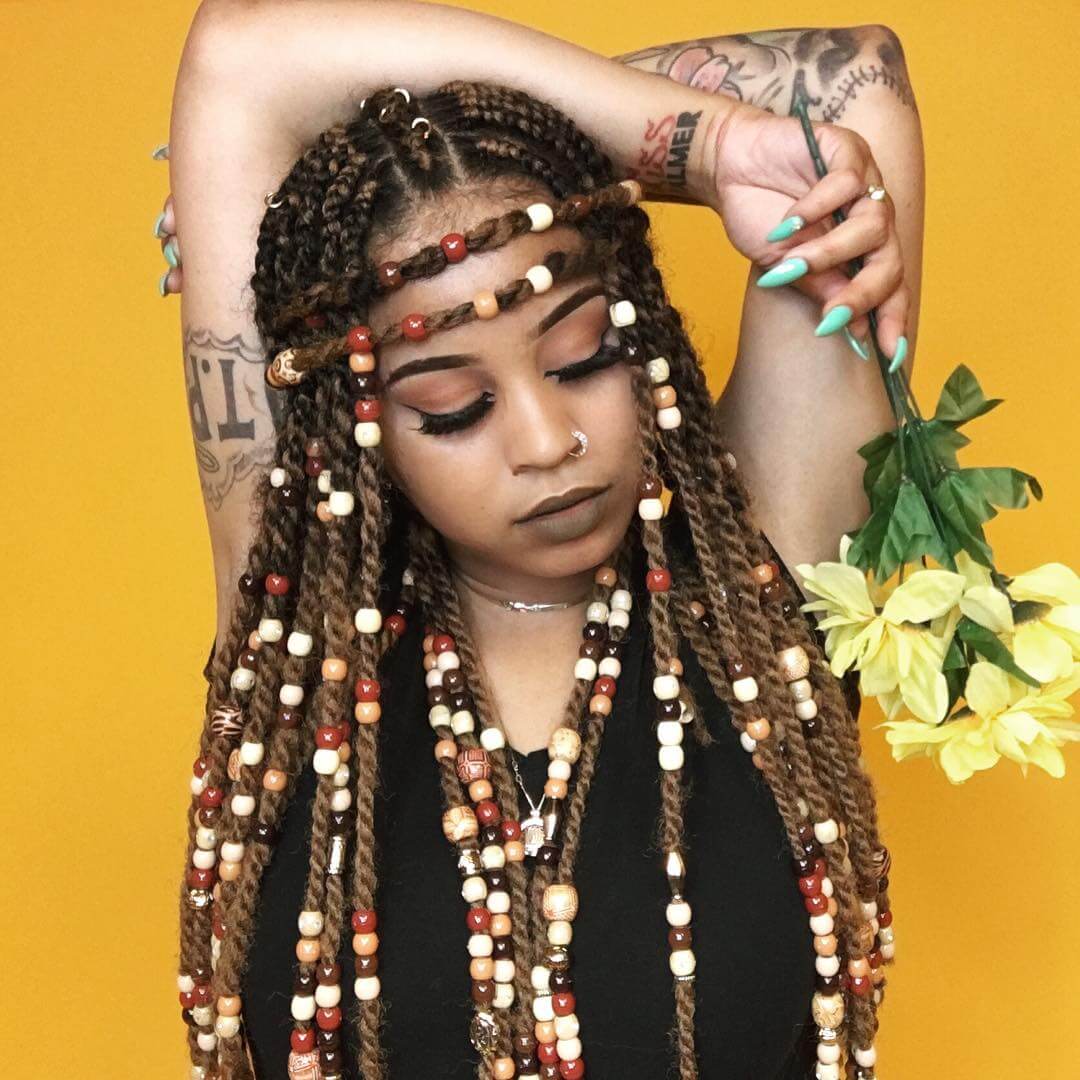
Using braids on your head always brings out a unique and urban look. Above all; it offers you a wide range of designing options. There are three ways you can braid beads into your hair. Let us go through these procedures.
First Technique
- Start by pinpointing either two or three hair strands.
- You are going to plait these hair strands. There is no specific sequence you should use. It all depends on your taste and preference. Design reasonable sized braids, which won’t give you headache when using beads.
- Please note that beads vary in terms of circumference. Take your bead and tie it next to your hair strands.
- Go further and make a couple of knots so that the beads don’t fall out.
- Use floss when attaching beads next to your hair.
- Always be careful when plaiting your hair so that any bead doesn’t come off from your selected hair strands.
- Proceed and design your desired hairstyle.
Second Technique
- The second designing option commences by plaiting your hair. The size of your braids should complement the beads you are using. You cannot plait thick braids if you are using thin beads.
- Decide the location on your braids your beads should appear. It can be either on the middle or at the tail end. This will determine how you will plait your braids.
- Use a threading tool if you are encountering difficulties in placing beads on their rightful position. A threading tool is quite straightforward and easy to use. You simply need to slide your beads on the tools into your selected hair strand.
- Ensure your beads are well placed and secure before removing the tool.
- You can use an elastic hair band to hold your ornament still so that it doesn’t get come out immediately you remove the threading tool.
- Afterwards, plait your hair until you attain your desired design.
Third Technique
The last designing technique needs only water and your beads.
- First, identify the size of braids you are going to use on your hair. This will guide you on the size of braids to form. It also guides you on the technique to use when plaiting your hair.
- In this designing technique, you should twist your hair to when forming braids.
- Commence and place some water on the edges of your twisted braids. Wet ends make it easy to thread your beads on your hair braids.
- Afterwards, move it until it reaches your desired location. Using the right sized beads ensures it stays on your head for a long period.
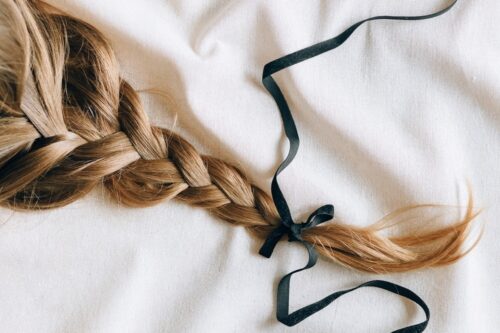
2. How to Braid your Hair with Ribbon
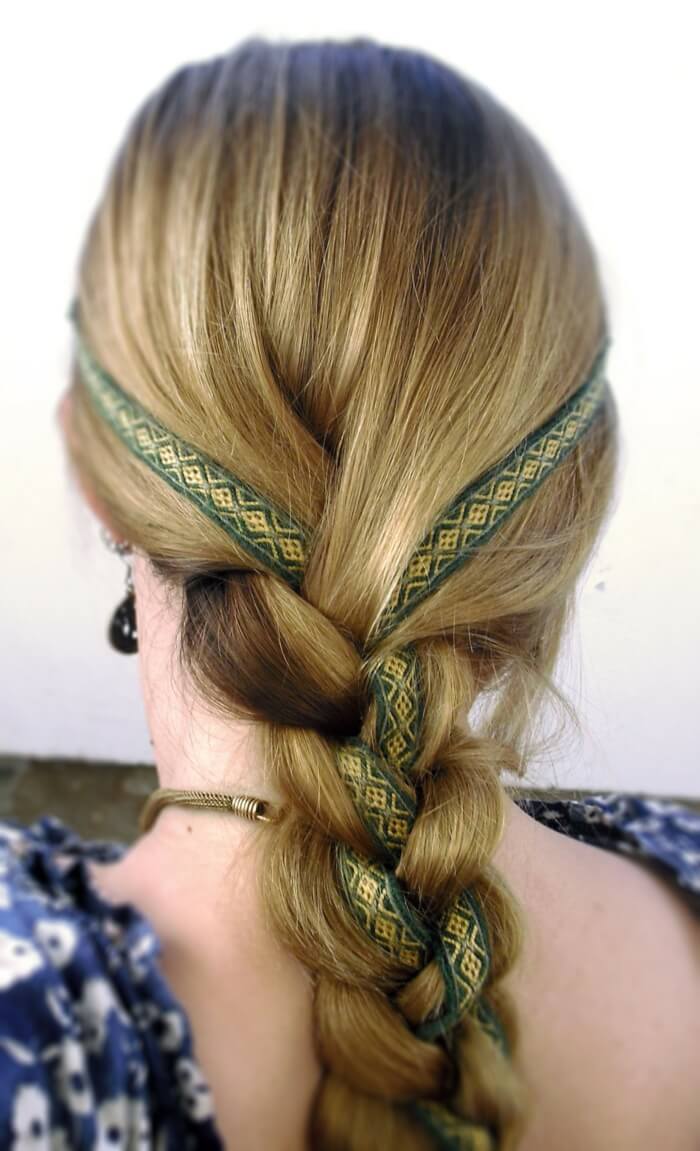
The use of ribbon on your braids enhances the looks of your fantastic braid hairstyle. Try your best and use a ribbon that complements your outfit.
- Wash your hair a few hours or a day before plaiting your hair. This makes your braids be firm and look pretty for a long period.
- Gently rub your hair with a towel to avoid damaging your hair. You can enhance the looks of your hair through a moisturizer.
- Move on and divide your hair into three sections. The braid you are going to use will determine the size of each section. Therefore, determine the type of braid you are going to use before dividing your hair into different sections.
- Take your ribbon and place it on the hair section you won’t be using. This gives you ample and an easy time to focus on one section at a time. You can also use a bobby pin to hold a section of your hair while you are plaiting your braids. Please note that your selected braid also influence the section you will start plaiting.
- Consequently, there is no limit on the ribbons you can use on your braids. It all depends on the design you wish to attain.
- Choose ribbons with neutral colors if you don’t wish to replace them anytime soon. There are some people who use hairspray on their braids. Hairspray generally enhances the looks of your braids and hair at large. Be careful on the situations you use hairspray. Some of these hair applicants can damage your ribbon.
- Ribbons are made of different materials. Therefore, confirm your ribbon’s material before spraying your hair.
- Lastly, some people have a habit of pulling their hair before clamping it together with a ribbon. Avoid this habit because you might damage your hair.
3. How to do a Braided Flower Crown Hairstyle
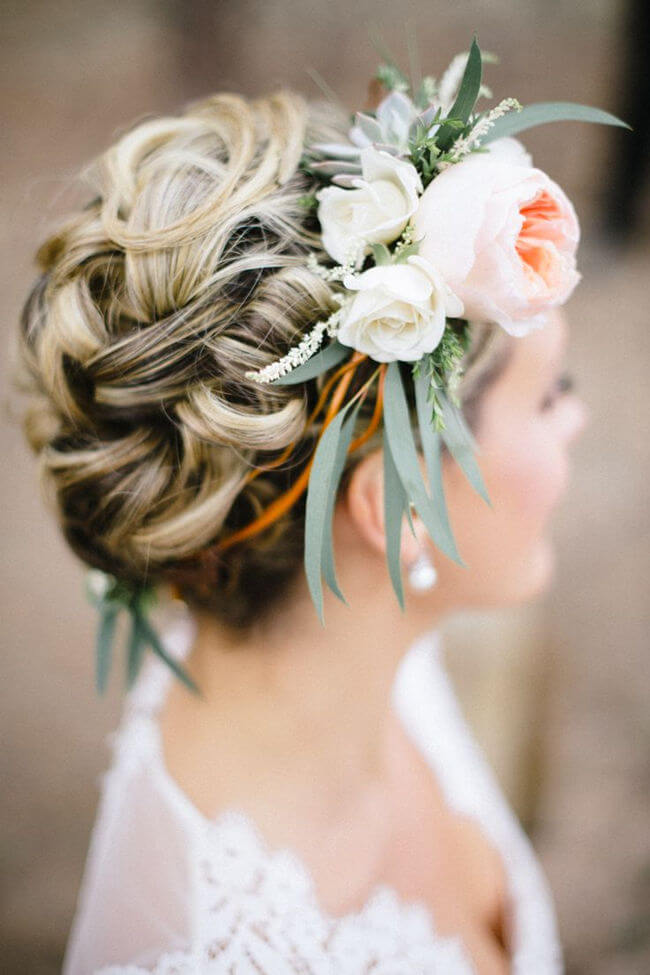
Don’t look further if you desire a rustic and elegant hairstyle. Simply consider braided flower crown hairstyle. Women love this hairstyle as it offers them a lot of designing options. Therefore, you are assured of uniqueness. That’s not all; people with long, medium or short hair can comfortably adopt braided flower crown hairstyle. This hairstyle is attributed by creating a side part design.
- You should use a good comb to properly come up with a side part design. Choose a comb based on the length of your hair and its texture, failure to which you might damage your hair.
- Secondly, plait your hair from your selected side. Divide your sideways hair into three strands before starting plaiting it. No hair strand should cross past the middle strand. This statement applies to hair on both sides of the head. Note that braids on this hairstyle should cross the side strands under not over.
- Plait your sideways hair past your ear region. You are free to hold your braids still with a bobby pin.
- Commence and form a half up half down ponytail. This is the point you add a flower headband. There are different types of flower headbands. Therefore, choose a headband that suits your taste and preference.
There is no doubt these Braids with Inserts hairstyles will give you an amazing look. Try them out today.

