I confess: I never learned how to use a blow-dryer diffuser on curly hair, even though I’ve had curly hair my entire life. I always preferred to let my natural curls air dry because I wanted the individual ringlets to keep their shape and stay perfectly “boingy.”
I’ve had a pretty good run because I’ve always lived in temperate climates that were warm enough to air dry my hair. I would wash it in the morning, walk out my front door with wet curls, and by the time I got to work, my hair was dry as a bone.
But then I moved to New York City, and all bets were off. The first time I stepped out of my apartment in the wintertime, my wet loopy locks turned into frozen spirals within three minutes.
(It would have been funny if it hadn’t been so unnerving!) My ringlets were stiff to the touch; they looked like they’d been coated with a can full of the world’s strongest hairspray.
Of course, within minutes of stepping indoors, my icy “popsicle” hair melted, and once again, I was stuck with a headful of wet curls!
What’s a Blow Dryer Diffuser for Curly Hair?
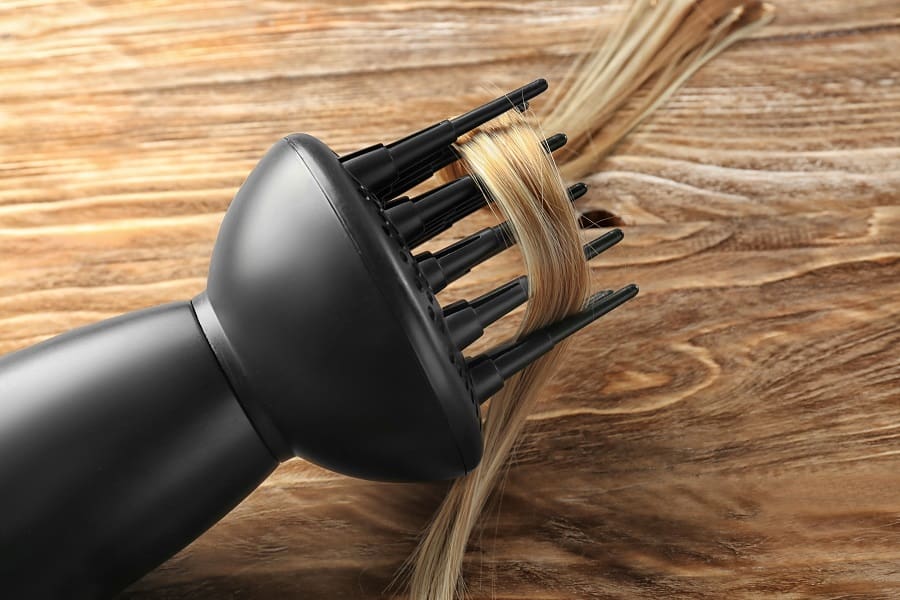
Diffusers are large circular blow-dryer attachments that are usually bowl-shaped and have a series of prongs and air vents. Their large surface area allows them to disperse, spread out, and “diffuse” the hot air from your blow-dryer, leaving your curls frizz-free and neat.
I Needed a New Solution
It didn’t take too many cold New York days for me to realize I’d have to figure out another method to dry my curls, so they’d be dry by the time I left for work in the morning. There was no avoiding it: I was going to have to learn how to use a blow-dryer diffuser for my curly hair.
I figured it couldn’t be too complicated; after all, before I’d decided to wear my hair naturally curly, I used to blow dry it into straight hairstyles. But it turned out I was wrong; there is definitely a knack to learning how to blow dry curly hair with a diffuser, especially if you want to keep your curls looking bouncy, orderly, and most importantly, free of frizziness.
Diffusers Are Scary Looking!
Because my hair is already quite thick and voluminous, I was concerned that the comb-like prongs on most blow-dryer diffusers would make my hair too big and bushy. Since I wasn’t quite sure how to use a diffuser, I did a bit of research before purchasing one, and this is what I came up with:
Prepare Your Hair
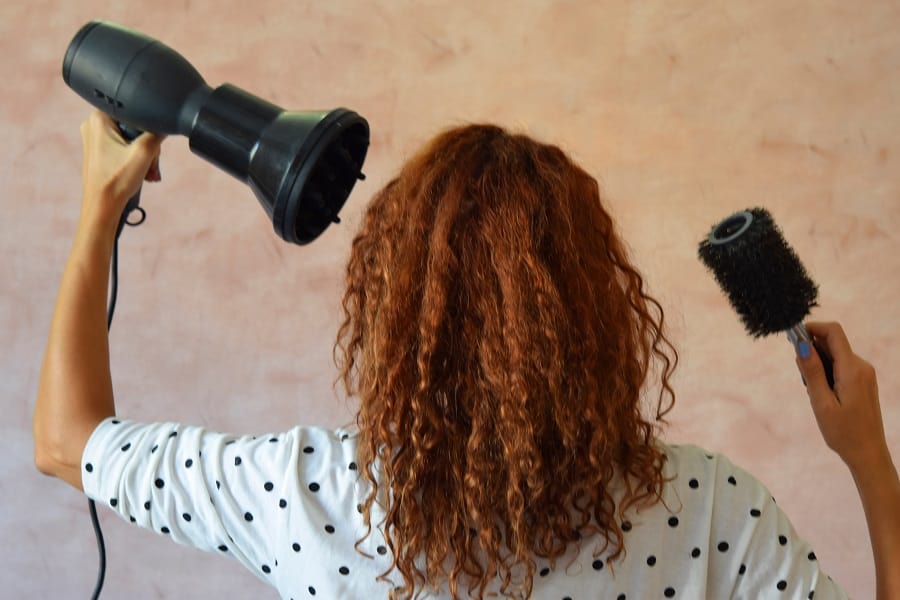
Before styling with a blow-dryer diffuser for curly hair, it’s essential to prepare your hair for the process. It needs to be washed, conditioned, combed through to remove tangles and knots, and any styling products need to be applied BEFORE you begin diffusing.
Choose the Right Styling Products
Many styling products on the market are designed specifically to work well with curly hair blow-dryer diffusers. Depending on your hair texture, you might want to use a mousse that creates and supports volume, especially if your curls are baby-fine. If you have thicker curls like mine, then a styling cream like OGX Argan Oil of Morocco can keep them tame and refined.
Regardless of how curly your hair is, be sure the product you select is formulated to protect your hair from heat damage while locking in your curls and preventing frizz.
Section or Part Your Hair
Depending on how much time you have, you might choose to let your hair air-dry for a few minutes before using the diffuser. Whatever you decide, consider parting your hair while it’s still wet, so it will dry in the direction you prefer. Divide your hair into four or five easily manageable sections that will fit into the head of the diffuser.
Flip Your Hair Upside Down
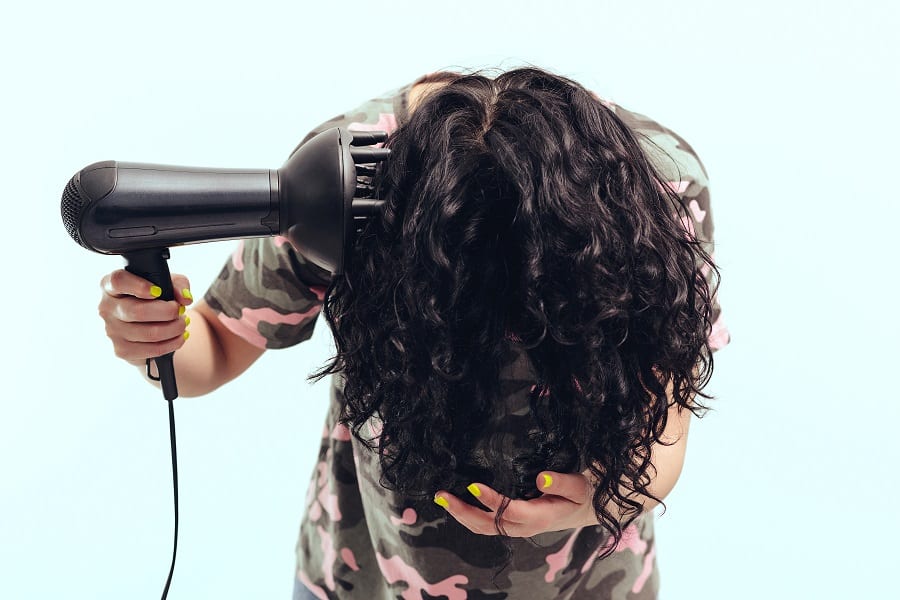
The best way to create volume when using a diffuser to dry curly hair is to dry your roots first. Flip your head upside down and let your curls hang down. Gently place each hair section, one by one, into the diffuser. Press the diffuser against your scalp until the roots are as dry as possible. Hold the diffuser firmly in place for about 45-90 seconds and then move onto the next section.
TIP: Turn off your blow-dryer before moving it away from your hair; this will help prevent frizzies.
Choose the Correct Settings on Your Blow Dryer
If you’re going to be using a blow-dryer diffuser frequently, it’s vital to reduce the amount of heat damage to your hair. Besides choosing protective hairstyling products, you also need to moderate the settings on your blow-dryer, so the heat won’t be too high.
Use the lowest temperature and speed settings possible to ensure your curls will stay in place as they dry. Plan your time accurately, so you won’t have to rush through the drying process. Remember, the lower the heat, the better it is for your curls, even if that means you need some extra time to finish.
Anticipate Your Curl Volume
As you continue moving your blow-dryer around the different sections of your hair, be aware of how much volume you want to end up with. Gently scrunch your curls upward toward your scalp to see how dry they are. Be careful to avoid separating your curls and don’t “comb” your fingers through them. By this point, you should be working the diffuser around your hair while your head is right-side-up.
Make Sure Your Hair is Completely Dry
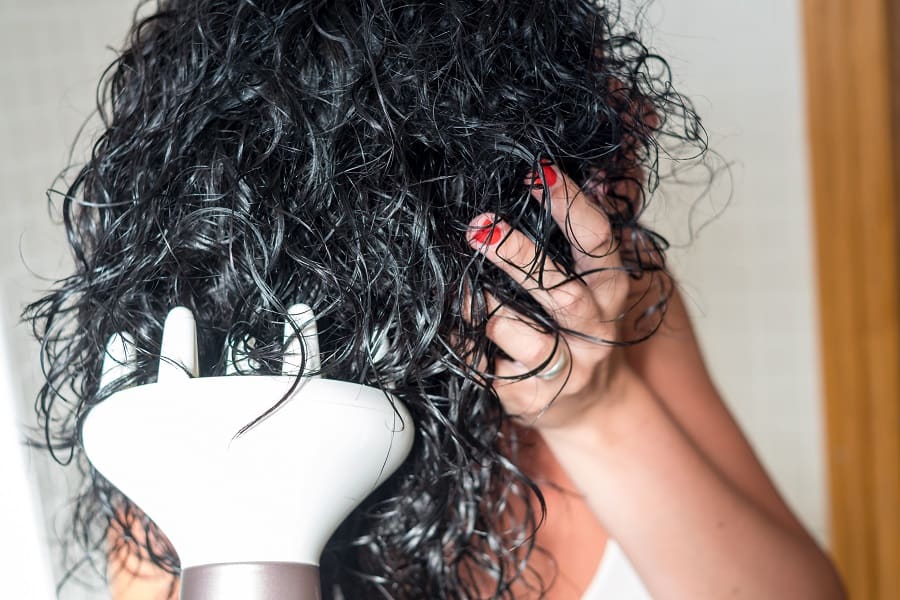
Keep scrunching your curls with the diffuser until your hair is at least 95% dry. This is an important step because if you leave moisture in your curls, they’re more likely to frizz up.
My Only Regret Was Not Starting Sooner
Learning how to use a blow-dryer diffuser was one of the best styling decisions I’ve ever made. Had I known how easy and effective it was to use a blow-dryer diffuser, I would have picked one up years ago. These days, my hair looks even better than it did when I used to air dry my curls!
Takeaway “DO NOTS!”
- Do NOT depend on your hands or fingers when diffusing your hair.
- Do NOT use the highest heat settings on your blow-dryer.
- Do NOT fluff out your curls beyond the root section.
- Do NOT dry your hair less than 95%.
- Do NOT shake your curls when dry (unless you want more volume)

