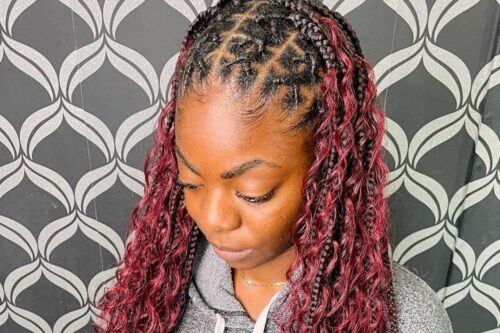
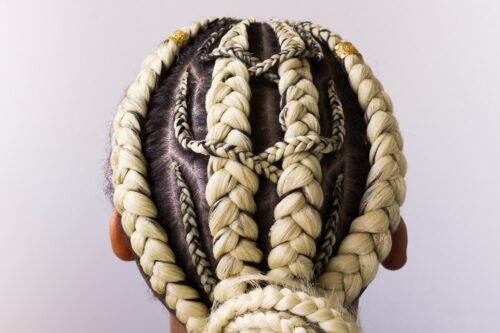
Feed-in braids are essentially the same as cornrow braids, and here the only difference is that you can add in more extensions to your hair to give it a colorful and vibrant look. A protective and fun hairstyle in a single package, the feed-in braids are quite popular these days. And in the current times, the long locks of feed-in braids or even box braids are now being viewed as a symbol of women’s power and feminism. The braids also gracefully celebrate the rich African culture.
If you have been thinking about getting feed-in-braids, then you have come to the right place. In this article, we will provide you a detailed tutorial about how to do a feed-in braid by yourself. Obviously, it is going to be difficult for the first time, but it’s a skill and a skill that will save you many bucks when you start mastering it. You can significantly cut down on salon costs every single time you go to your stylist to get your hair braided.
For feed in braids, we use extensions to your real hair to add in the required length. You can also add more volume and thickness to your hair with this method. Let us now look at how you can do a feed-in braid by yourself.
More About Feed-in Braids
Originally, braided hairstyles such as cornrows, boxer, and feed-in were worn by African women and men. These braids empowered them and gave them the confidence to reflect their culture, heritage, and tribal lives. Most importantly, the African people also used these braided hairstyles to protest the black power movement.
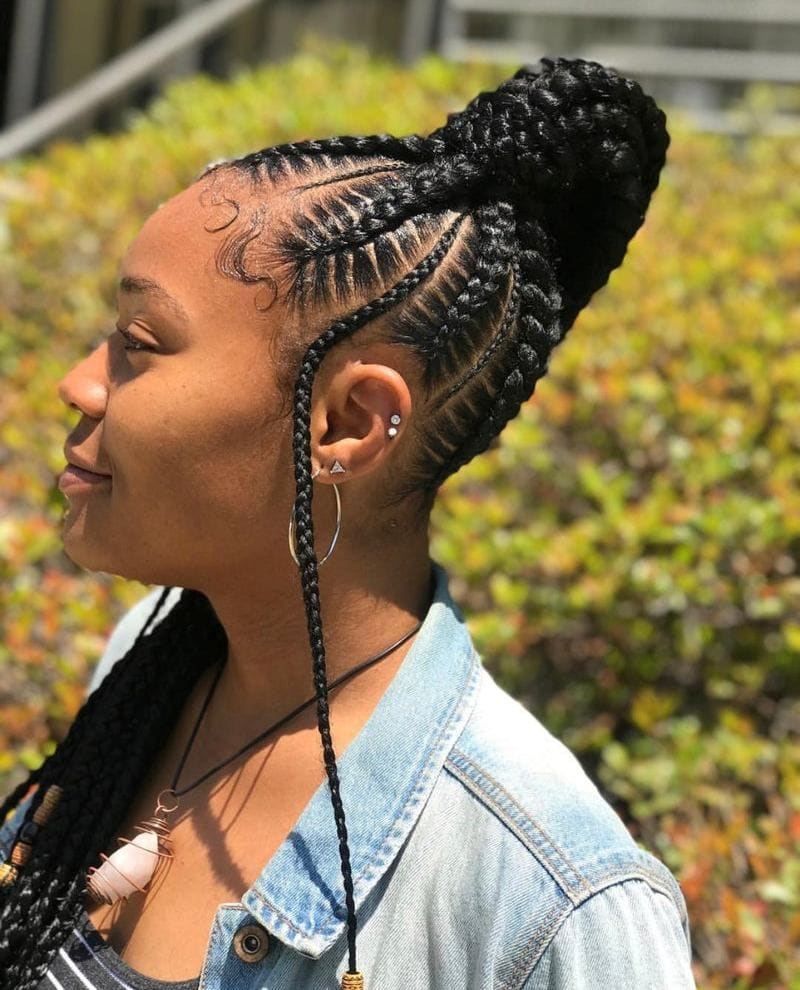
As the name itself suggests, this braided hairstyle includes feeding in synthetic hair extensions to volumize and increase the length of your hair while creating cornrows. Unlike other traditional hairstyles, feed-in braids can be installed in different pleasing and intricate designs, patterns, lengths, shapes, and sizes. In other words, you can totally customize this look according to the style you are dreaming about. You can go for jumbo, medium, or small-sized braids and decrease or increase the length using extensions. Feed-in braids are low maintenance, makes your hair look extremely beautiful, and ready to rock any occasion.
Supplies You’ll Need To Make Feed In Braids:
- Rat-tail comb
- Hair extensions
- Hair elastic
Steps To Do A Feed-In Braid:
- Before you start braiding, you need to prep your hair as well as your extensions. Clean and moisturize your hair with shampoo and conditioner and completely dry it either air-dry or blow-dry. For really curly hair, blow-drying your hair straight reduces frizz and makes your hair easier to braid. After that, choose your extensions in the desired color and length you want. Separate the extensions into sections of ¼ inches each.
- Part your hair and divide it into sections of equal thickness. You can choose how many sections you want. Use a rat-tail comb to get even spacing and to get a straight line. Now take one section of your natural hair, which is the closest to your forehead, and braid it in the style as you would do cornrows. Make a braid with three strands and then keep adding strands from underneath as you move down. In this manner, make one stitch and continue making stitches for about 1-inch length.
- Next, add in the extensions. The extensions need to be added at the same place where you started your cornrows. Take the smallest section and fold it into two equal parts. Place one part of the extension in a loop position in the center section of your natural hair while the other part should remain outside. Now, combine both your natural hair and extensions and keep doing this till you reach the bottom and secure the ends with an elastic.
- Repeat the same process for each section until you cover your whole head with cornrows.
What is the correct way of washing your braids?
If you do intensive research on this matter, you will know that there are different ways of washing your braids. Some articles claim one thing, while others deny it. However, washing your braids is no different than washing your normal hair but with extra care and patience.
1. Prep your hair
Before you install these goddess braids on your scalp, make sure your hair is ready to bear anything. In other words, use a good cleaner, deep conditioning natural oil, and conditioner to provide the necessary conditioning. Always get your braids done by a professional who is aware of what he/she is doing. If the braids are too tight, then they will cause more damage than protecting.
2. The washing technique
Gently clean your scalp to remove any product build-up and use a continuous vertical motion. Do not rub your braids against each other as it can loosen them up and cause damage due to friction. After thoroughly rinsing, use a pea-size conditioner on your ends while avoiding the scalp and leave it for a few minutes.
3. The drying part
Damp hair can cause dandruff and other worst of your nightmares to come true in a matter of no time. You can use a hooded dryer for around 25-30 minutes until your luscious braids are completely dry. If you want to avoid any type of heat styling, then you can let your braids air dry for a day or so. Remember the golden rule that prohibits styling your braids if they are soaking wet or even a little dry.
4. Remove product build-up
If you feel like normal cleaners are not quite efficient in removing the build-up and cleaning your scalp, then you can use this remedy. Mix one part of apple cider vinegar with three water parts to dilute it and rinse your hair thoroughly with this solution. At last, use some cold tap water and rinse your hair again.
Yes, you can clean your braids by washing them with shampoo or by spraying. But do not regularly wash, only go for it once or twice a week.
Feed-in braids are safe on your hair for almost 2 months, and after which, wearing them will cause breakage and damage your whole hair in the process.
While sleeping, cover your head with a silk or satin scarf. This will reduce much of the frizz and keep your hair soft, shiny, and smooth.

